
As our plan evolved, I started to refine my design. First, I came up with the idea of making the handle banded, since connecting the edges directly wouldn’t be sturdy enough to withstand the force needed to push forward.
I’m calling it the “Stitch Maker” for now, but I plan to ask our boy to name it himself!
For prototyping, I began with cardboard.
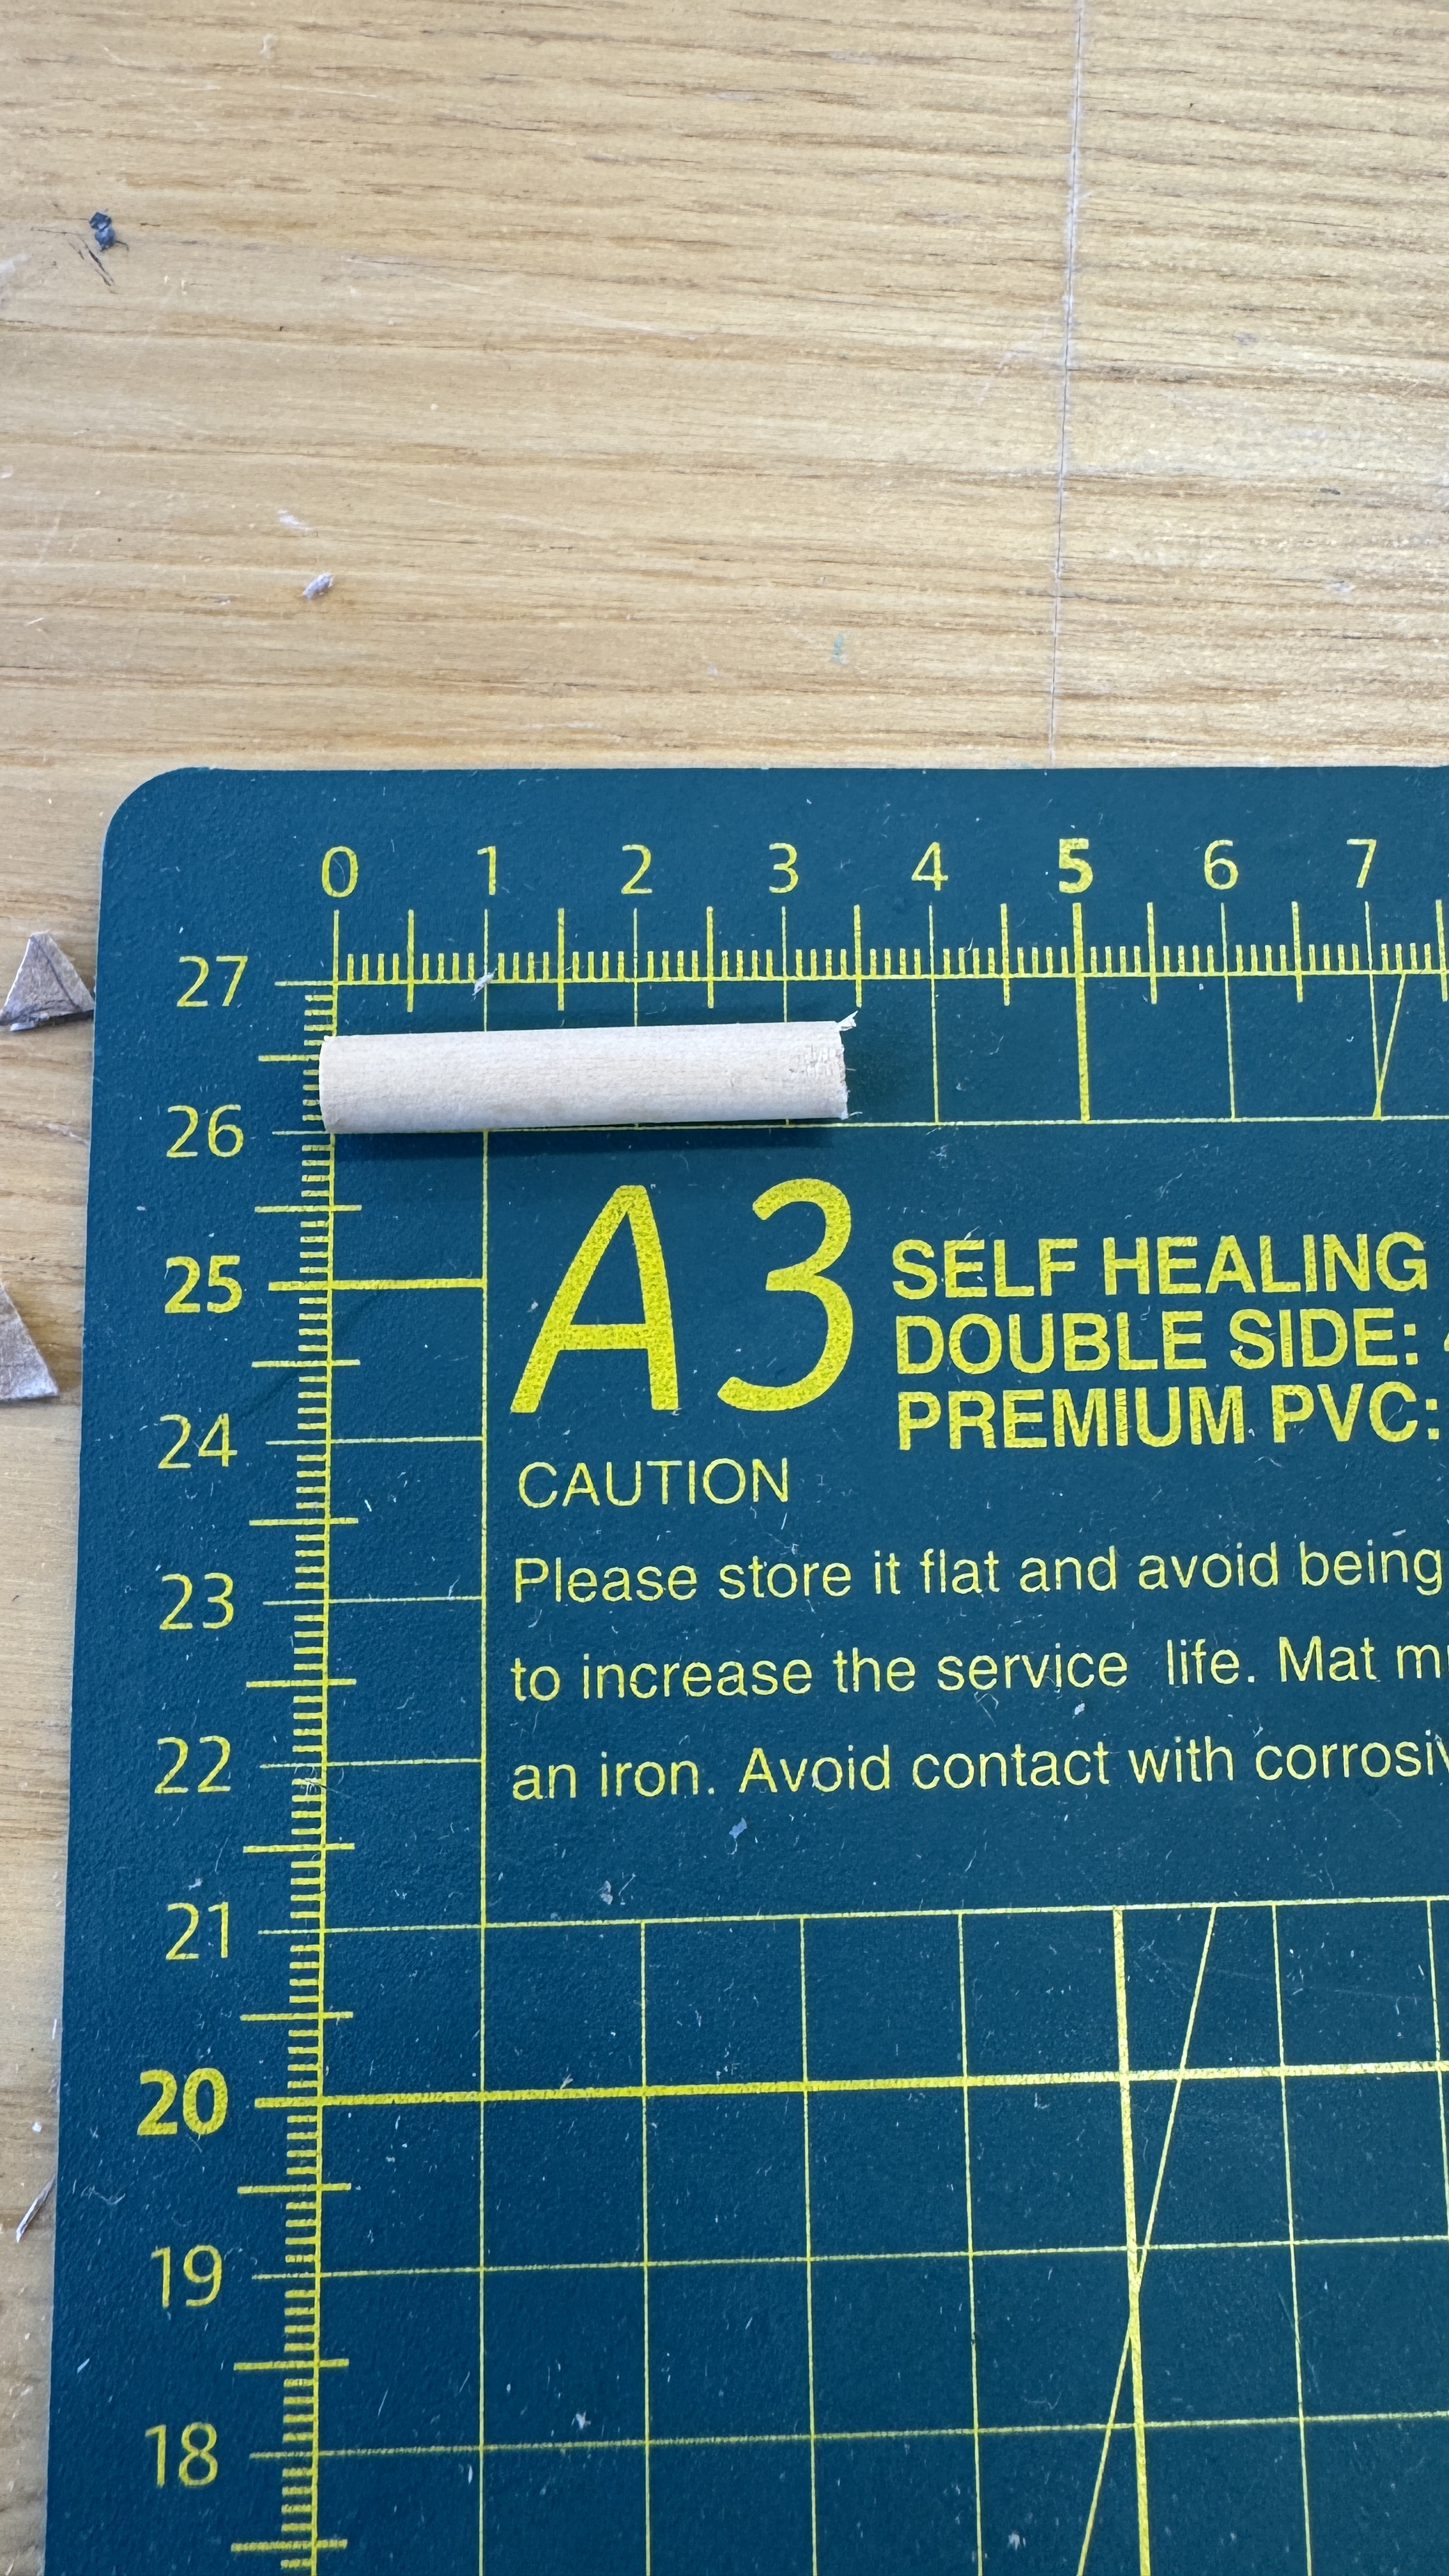


This time, I photographed the prototype on a cutting mat, which will be more helpful as a reference when creating a 2D design file.

The finger holder turned out to be a great idea; it made pushing the tool against the cardboard much easier and protected my fingers from the blade.

Next, I worked on the second tool: a line drawer with an adjustable gap between the teeth. This would make it easier to draw lines when constructing a box. I created another cardboard prototype.

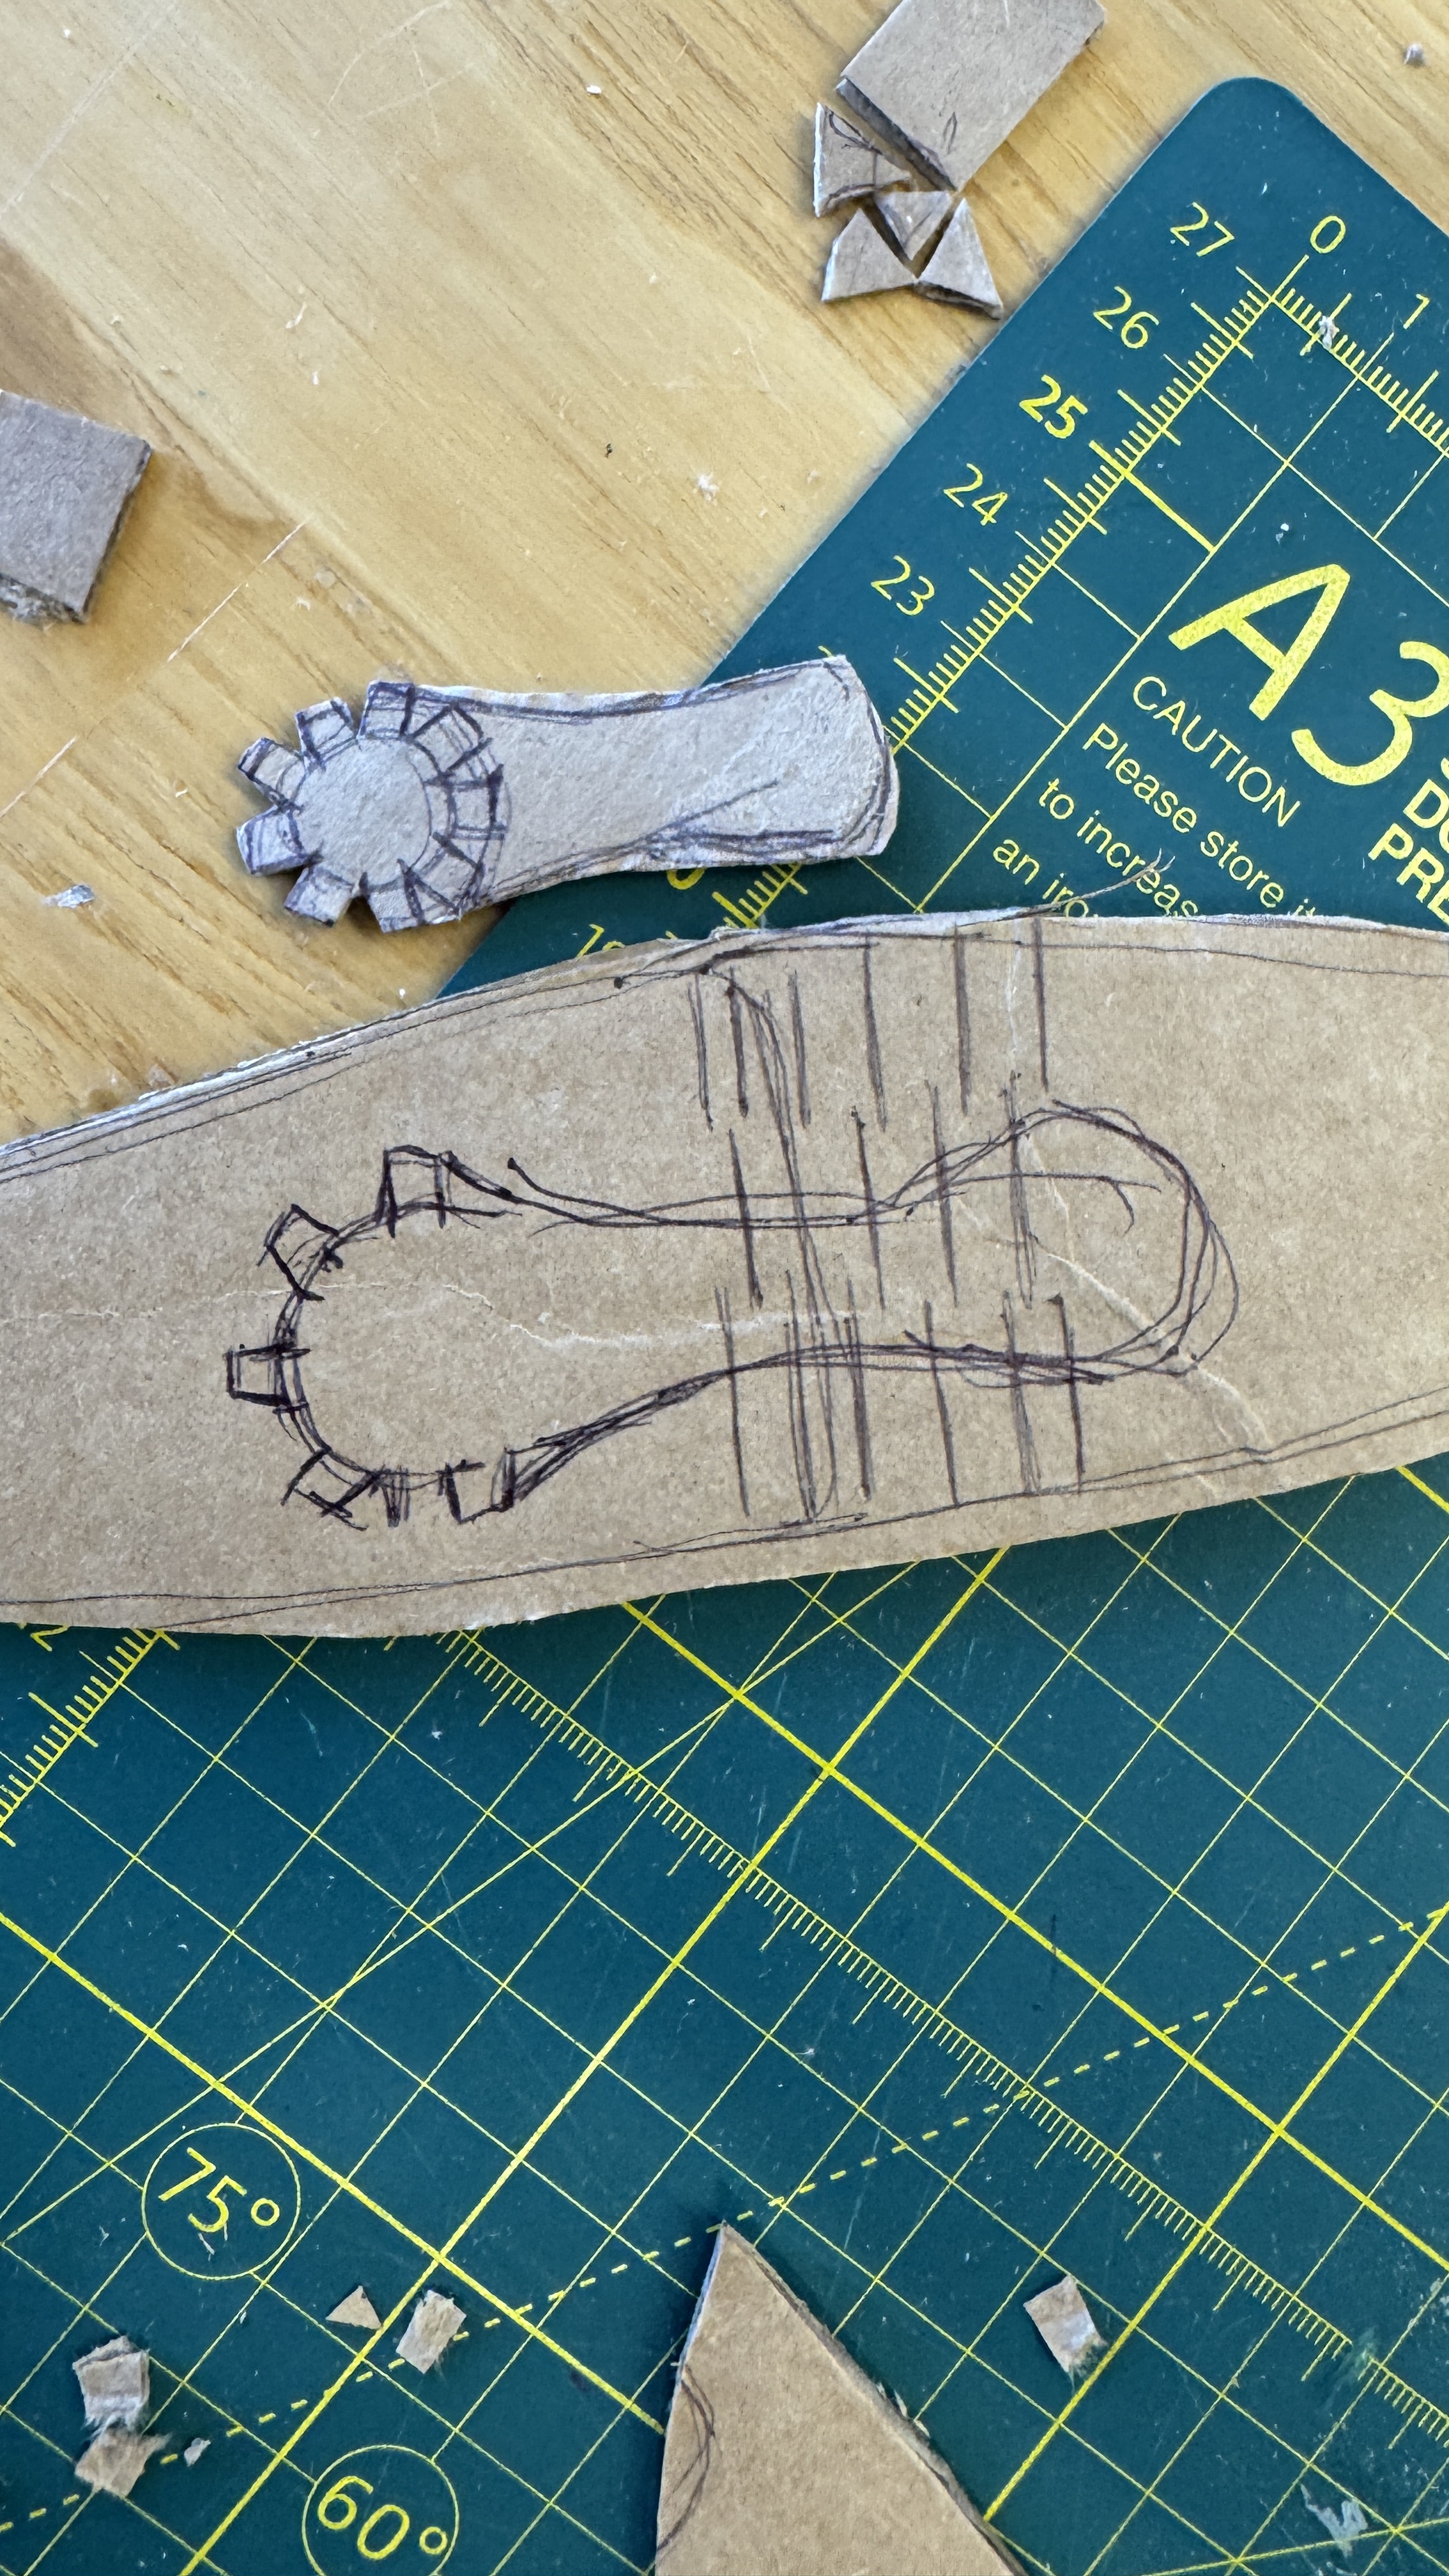
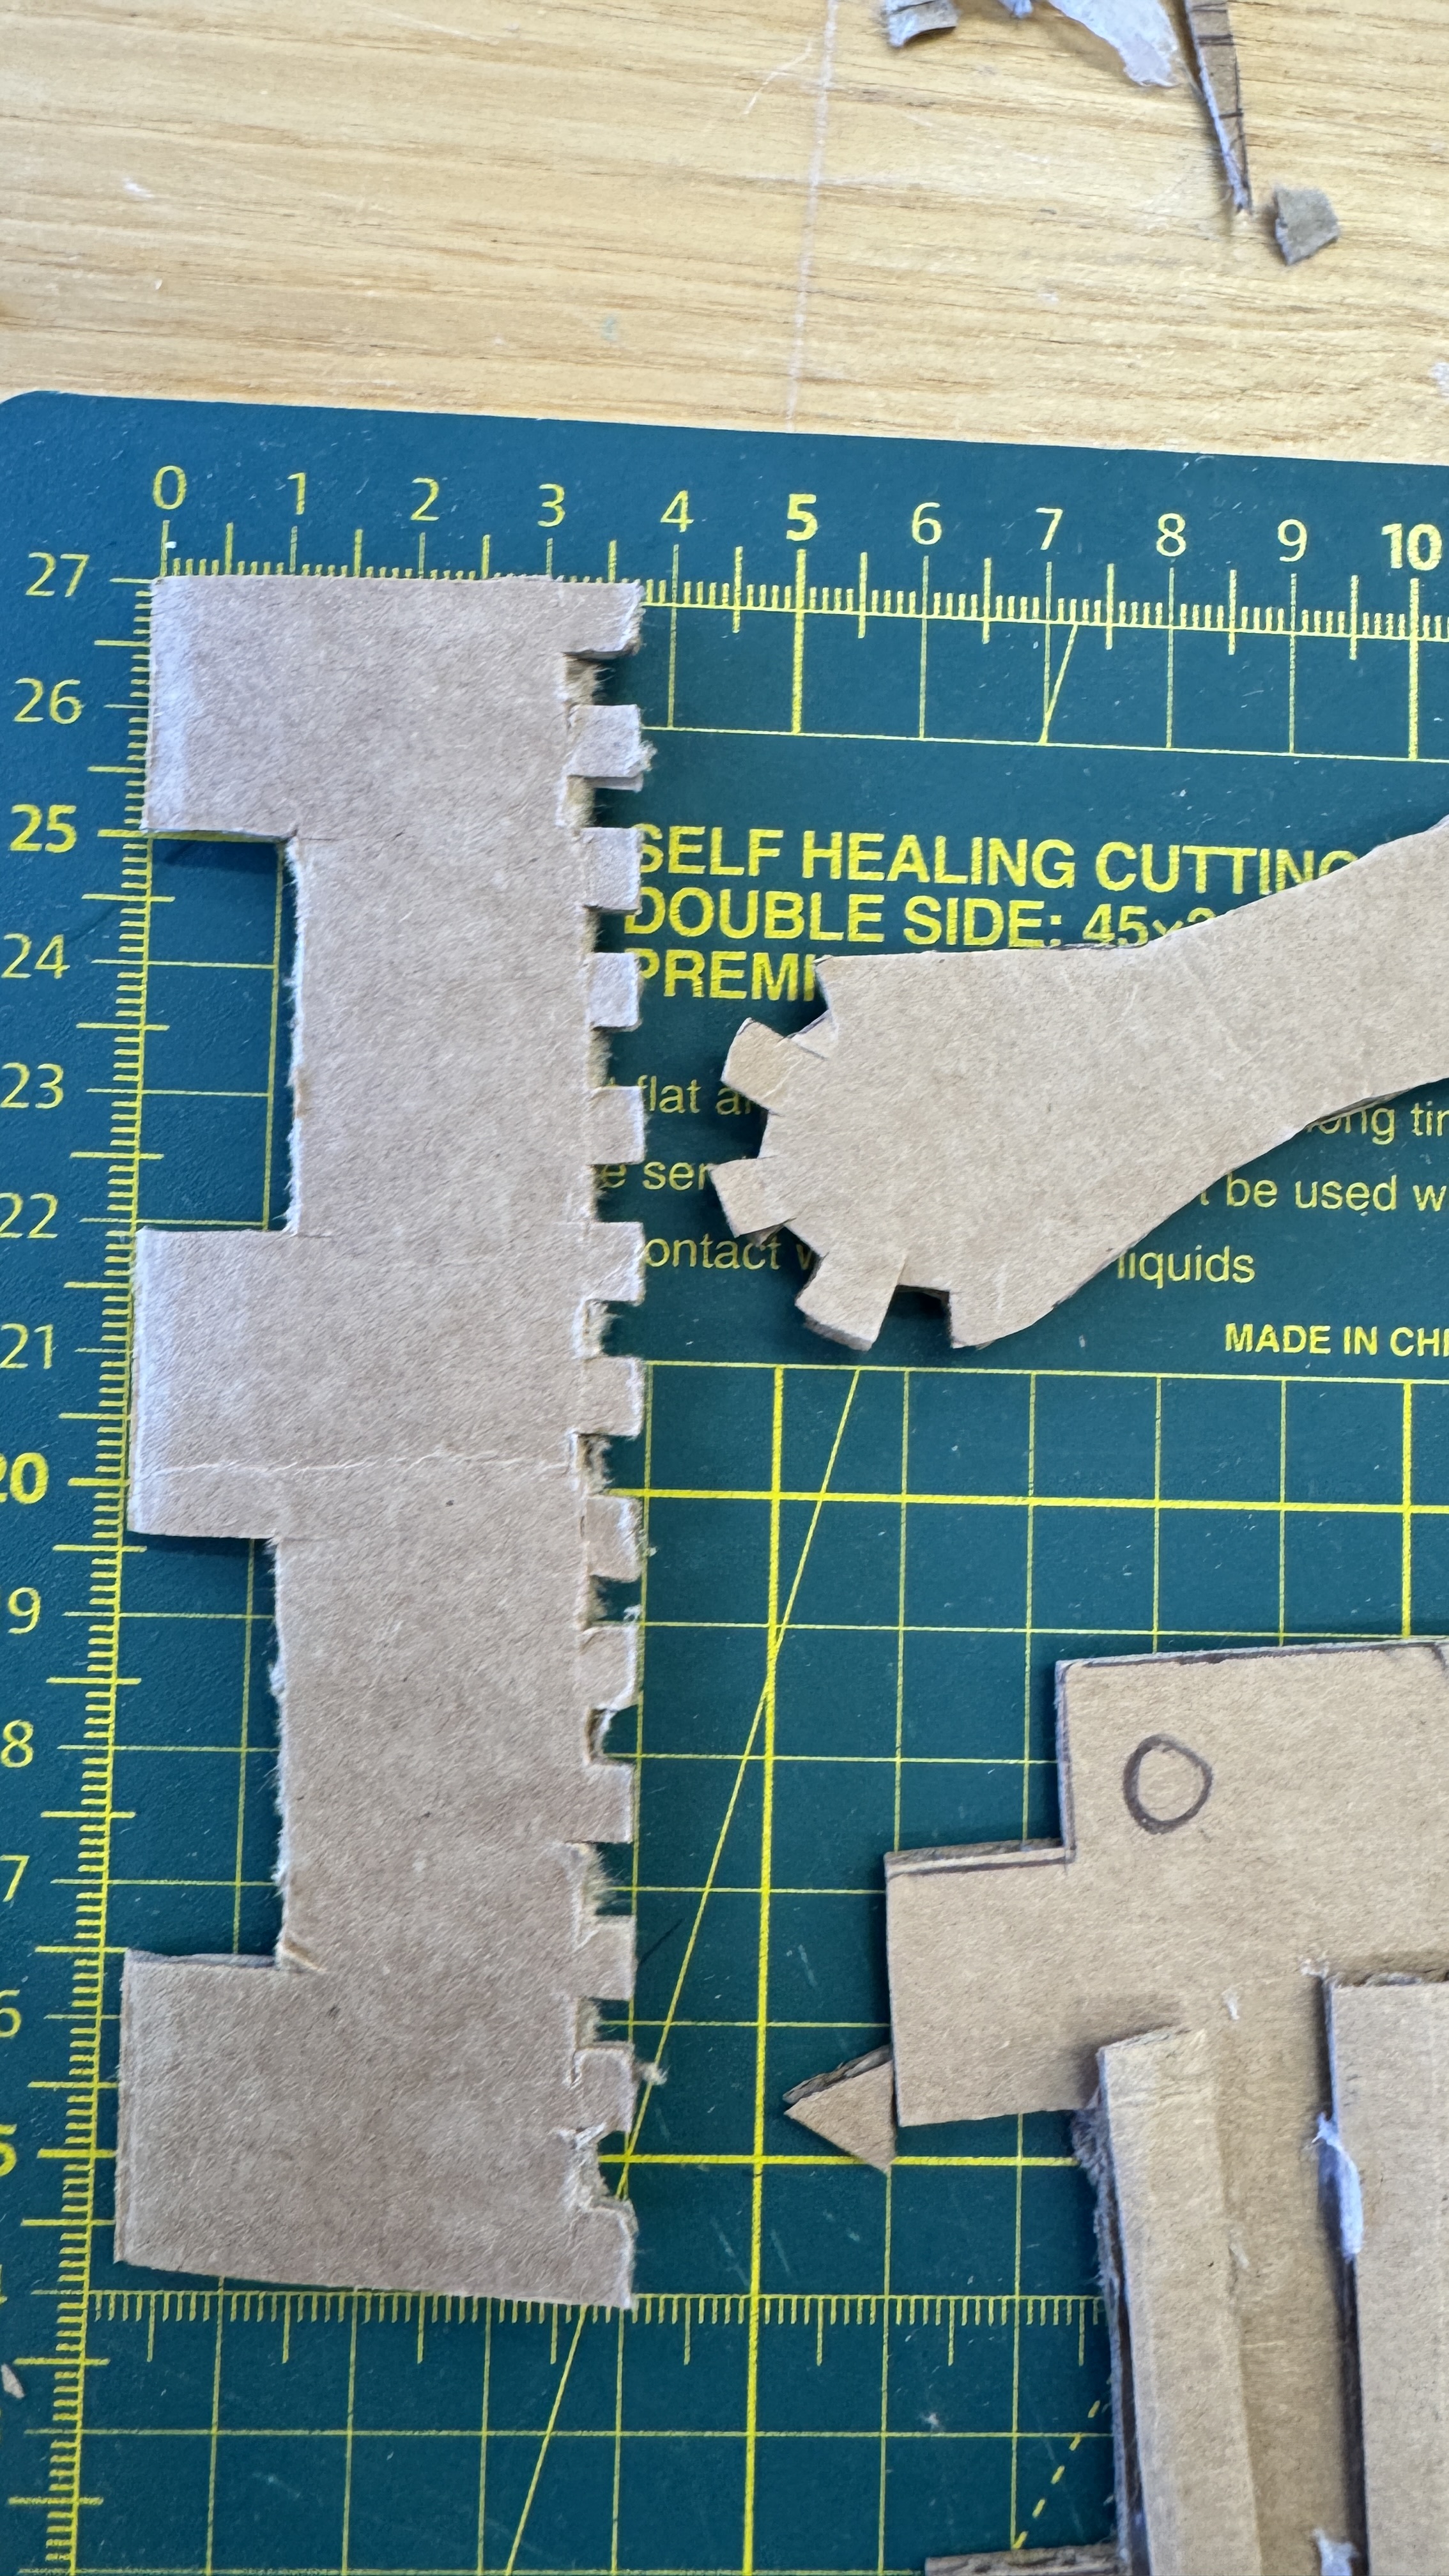
The first thing I learned was that the handle teeth need spacing between them.


Second, I realized that a rail is necessary to keep the plates from wiggling during use.
Wooden Prototype
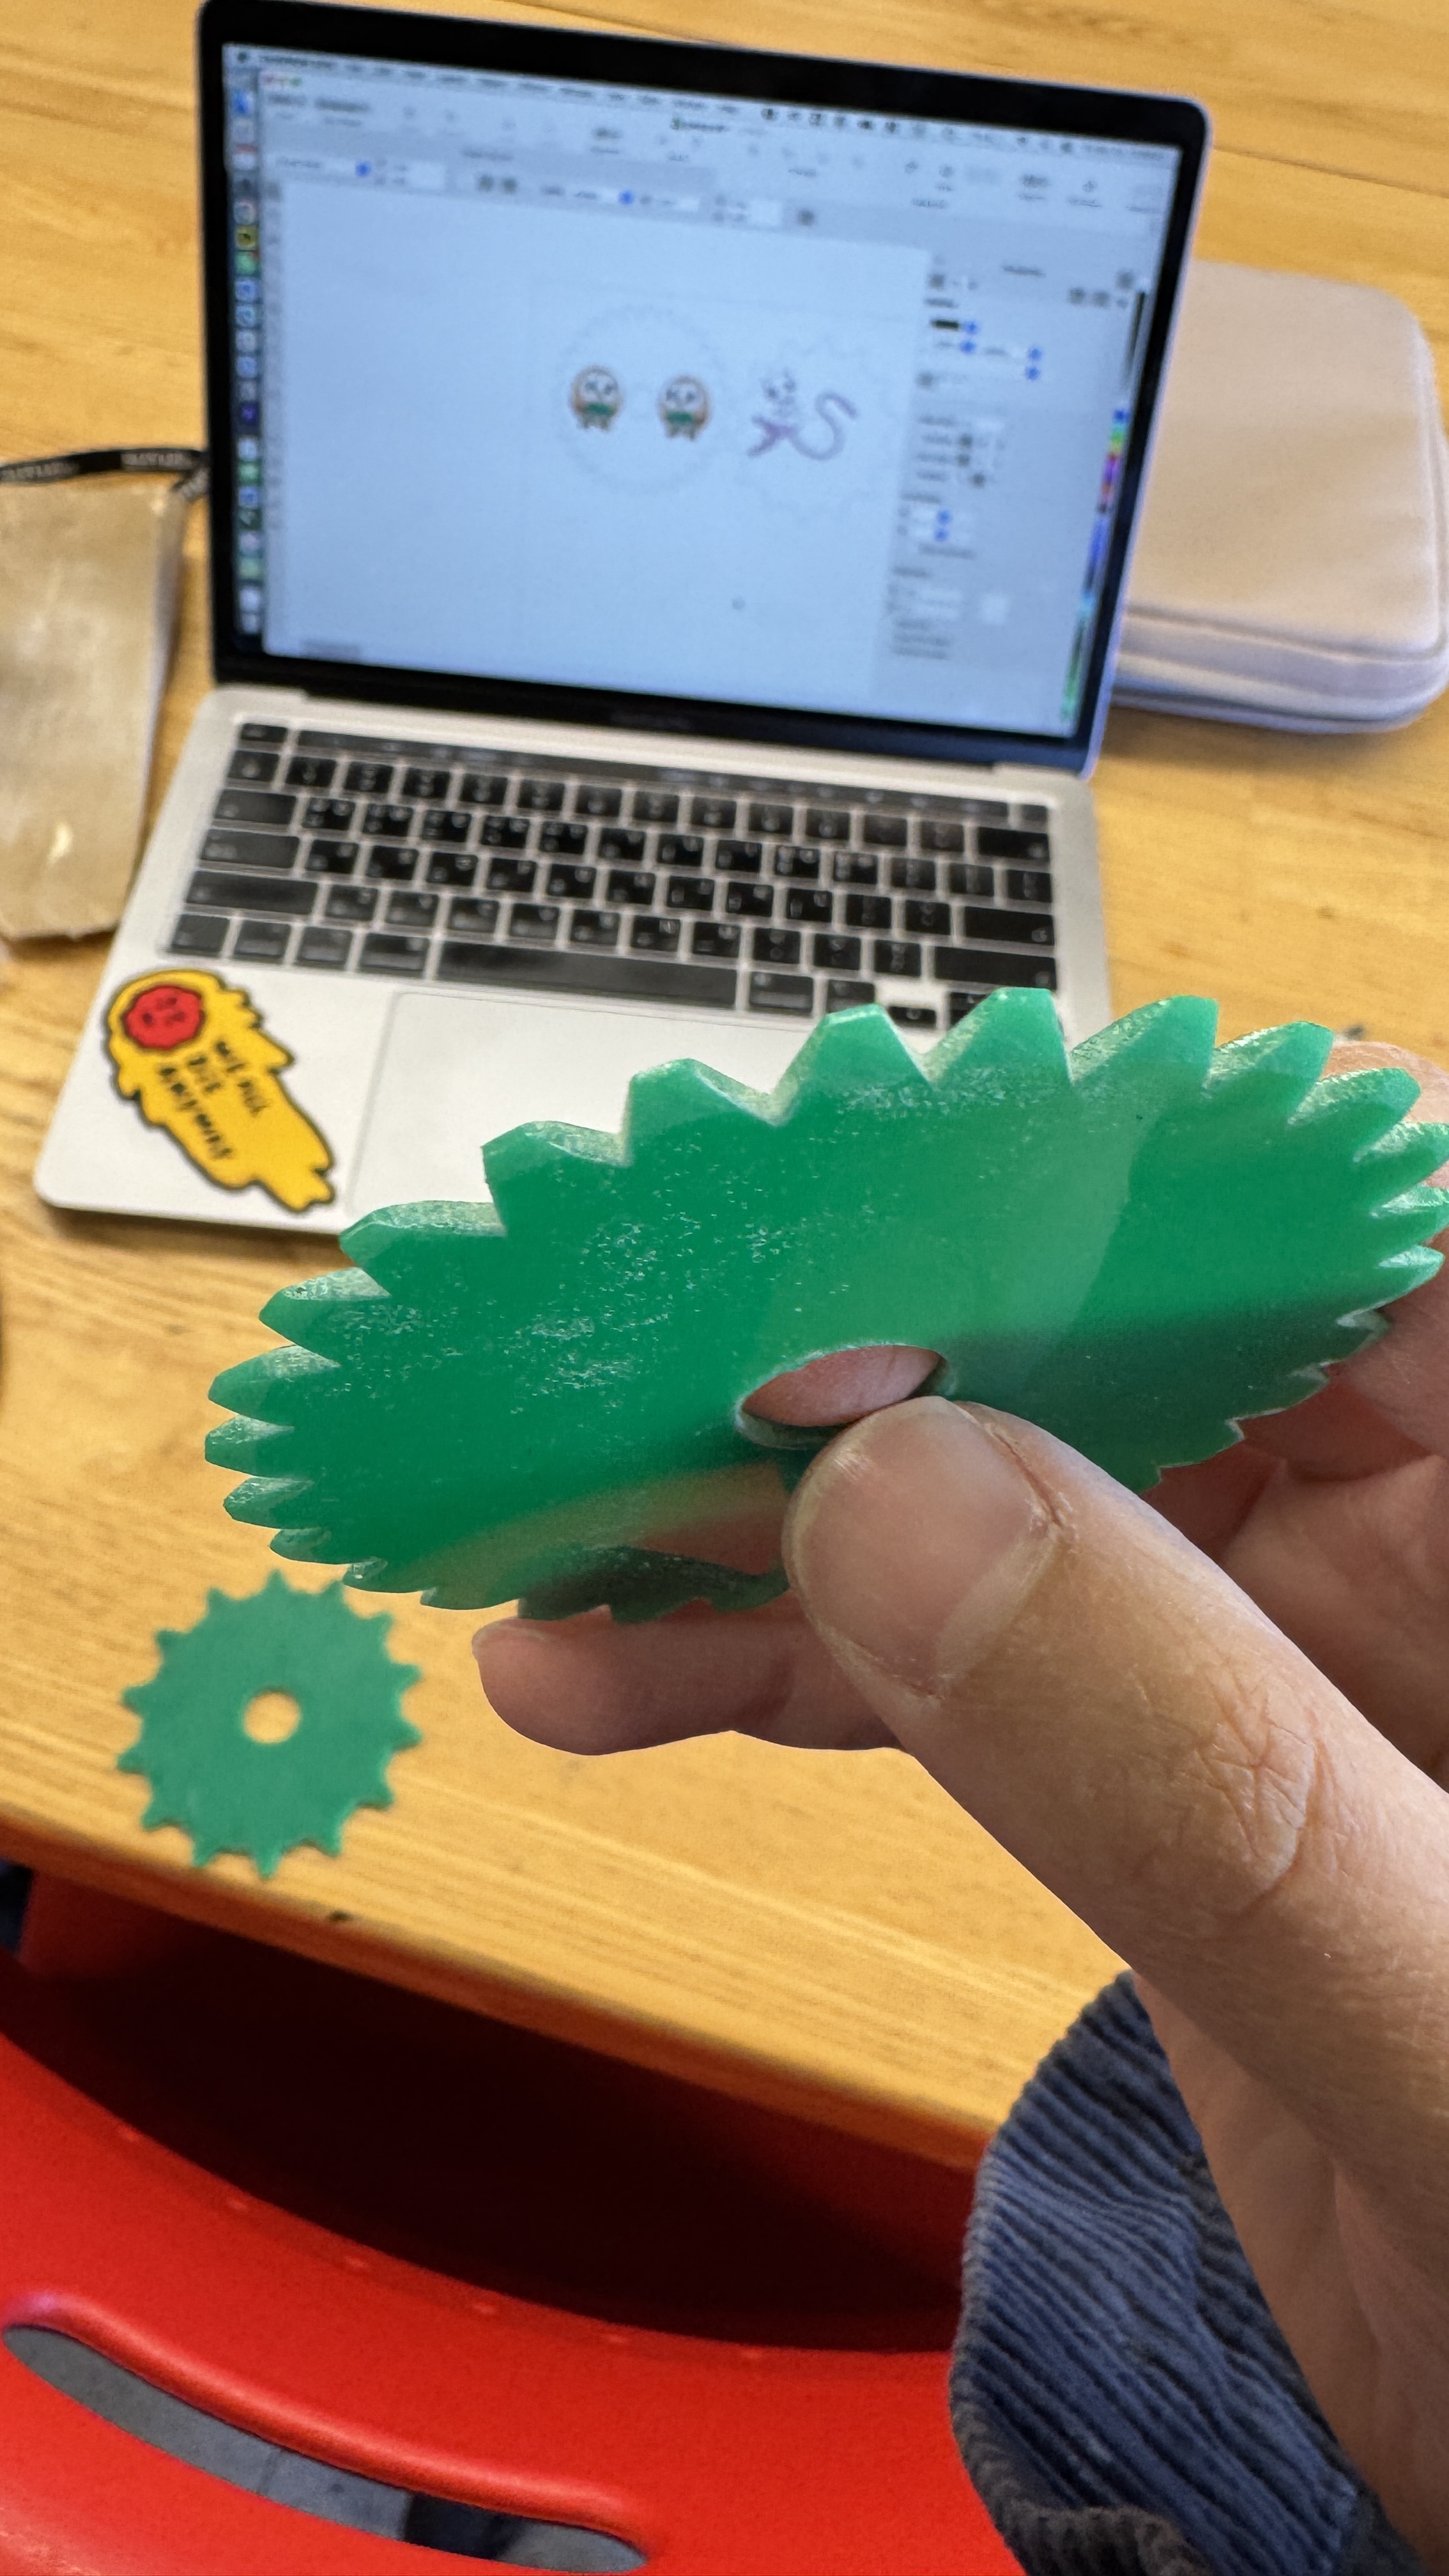
I then moved on to prototyping with wood.

At first, I made the tool the same size as the original prototype, but it was too large for our boy’s hand. I printed a smaller version so it would fit him better.

Another challenge was the blade. My initial attempt used wood for safety, but it wasn’t sharp enough to make stitches.

So I switched to acrylic and sanded it until it was sharp enough—safe to handle, but effective at making stitches.
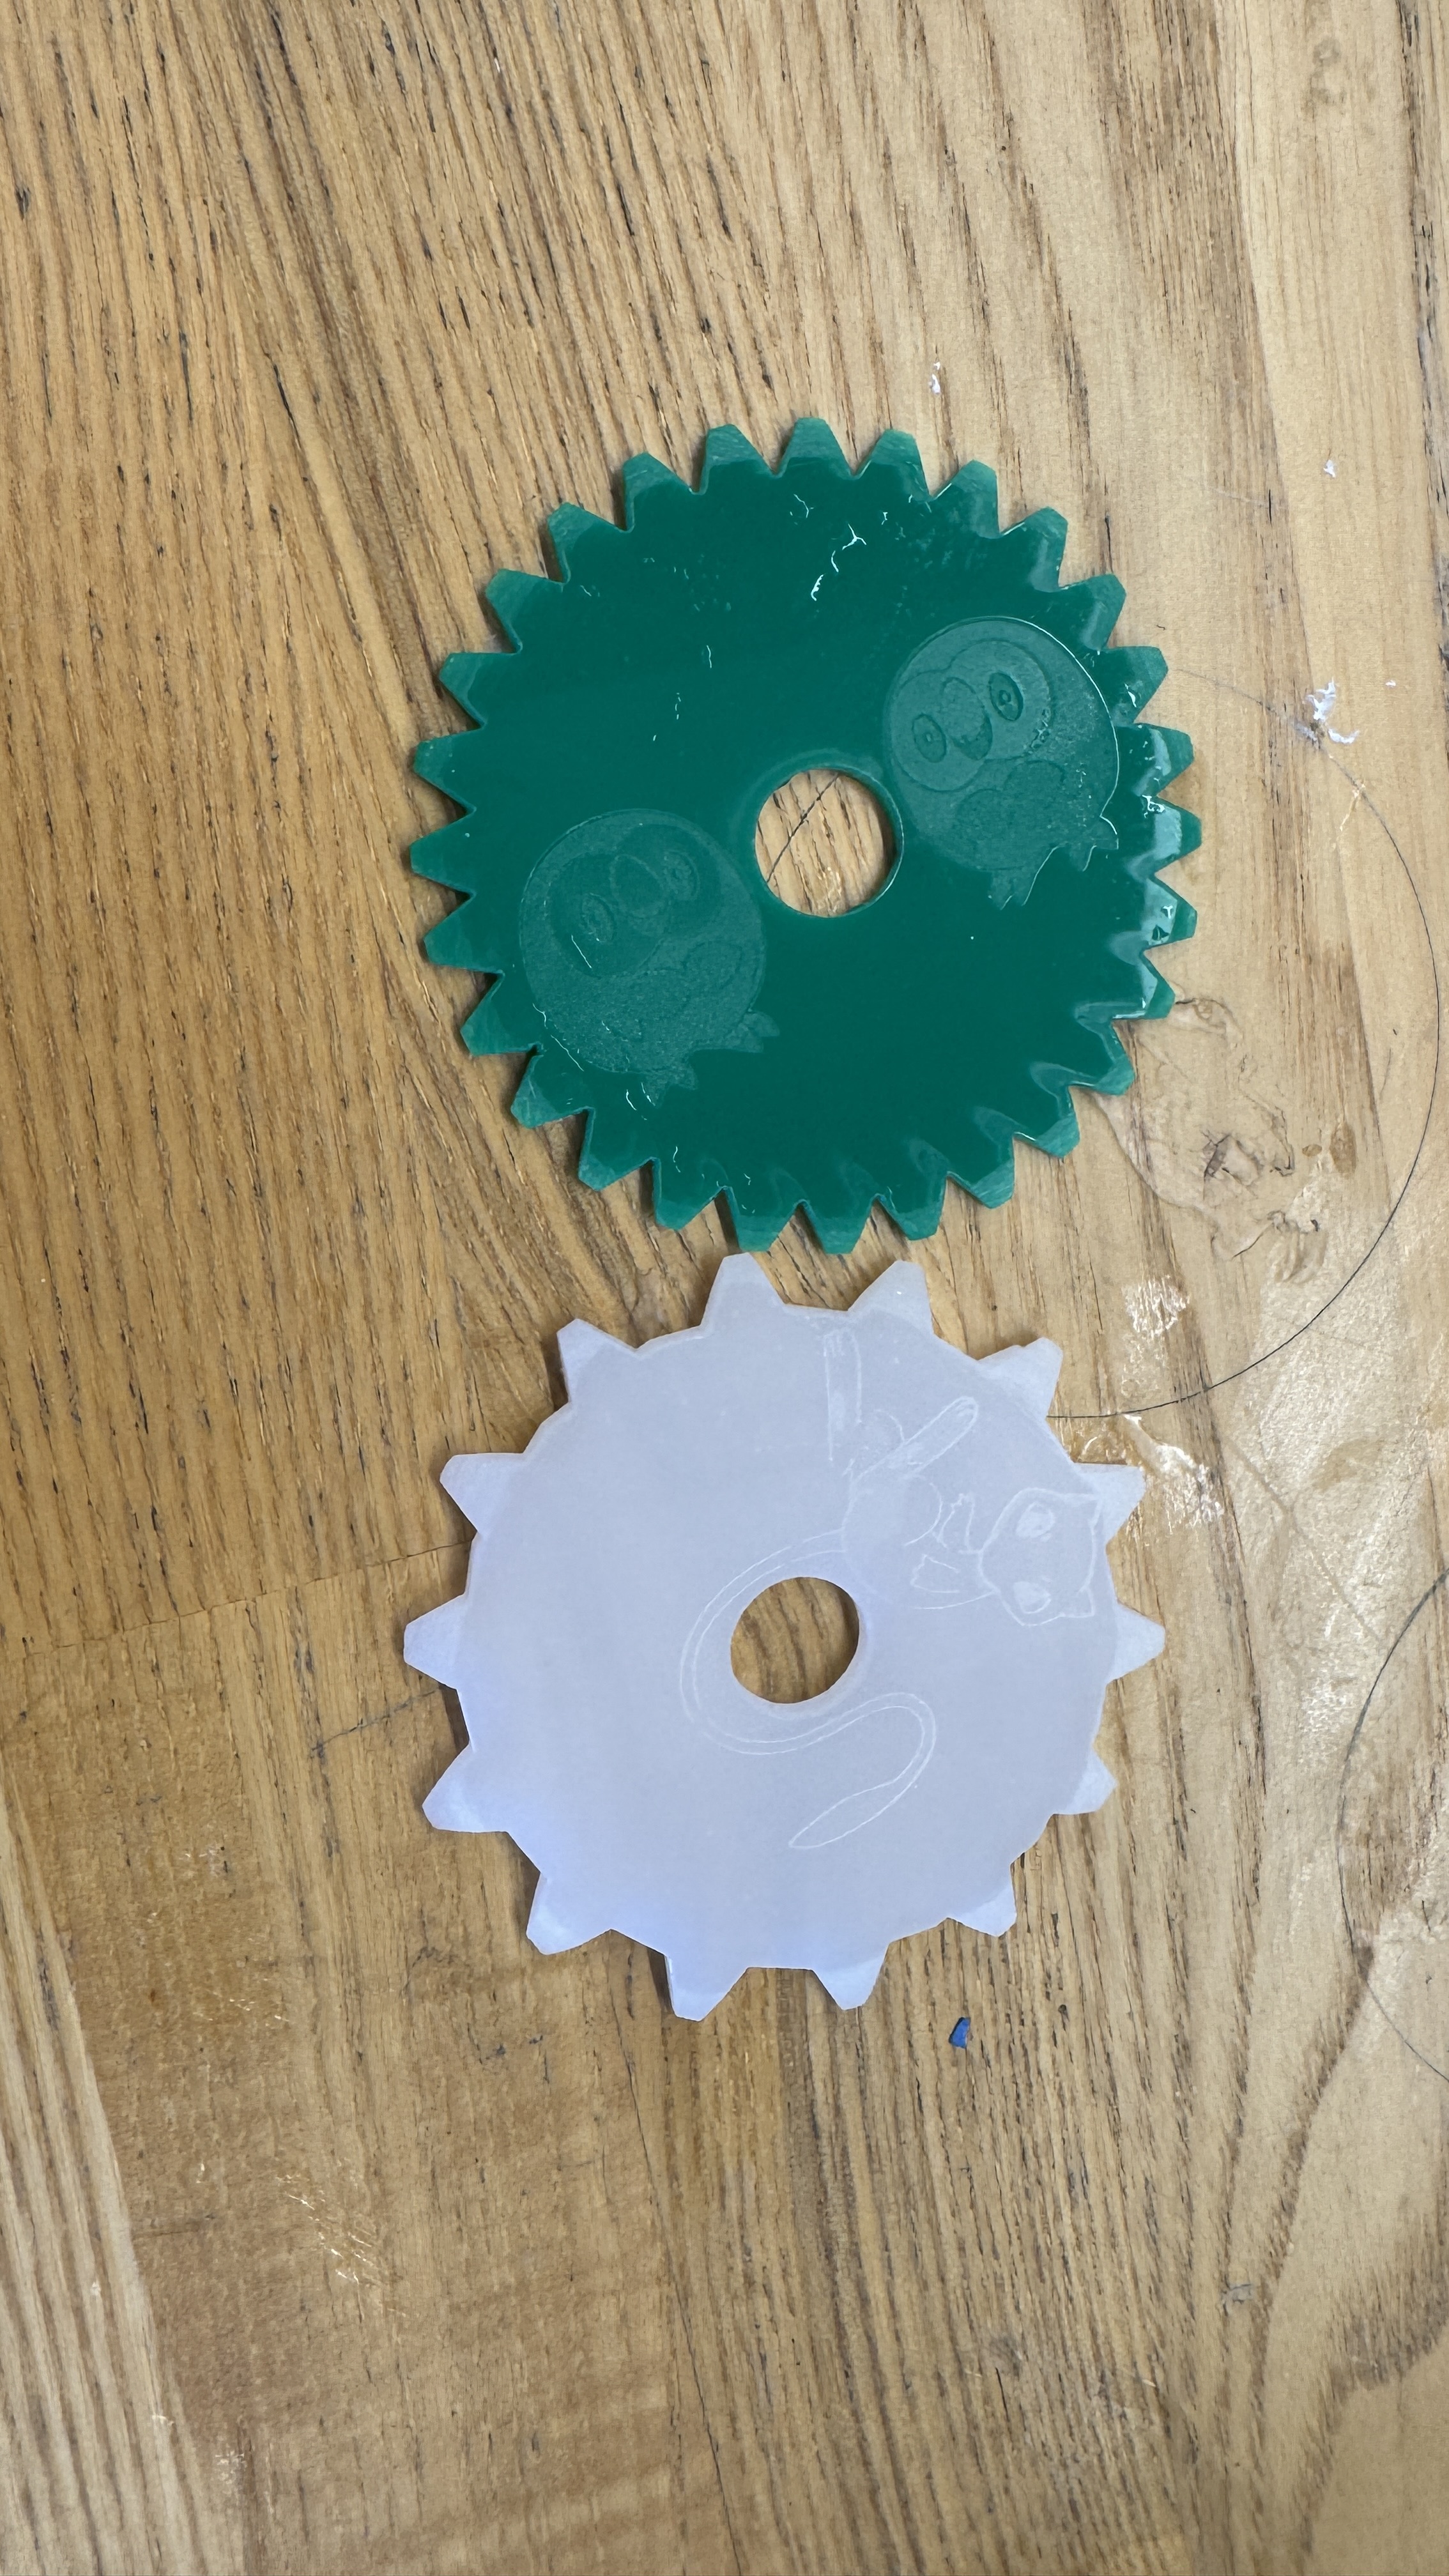
I engraved his favorite Pokémon onto the blade for a personal touch.

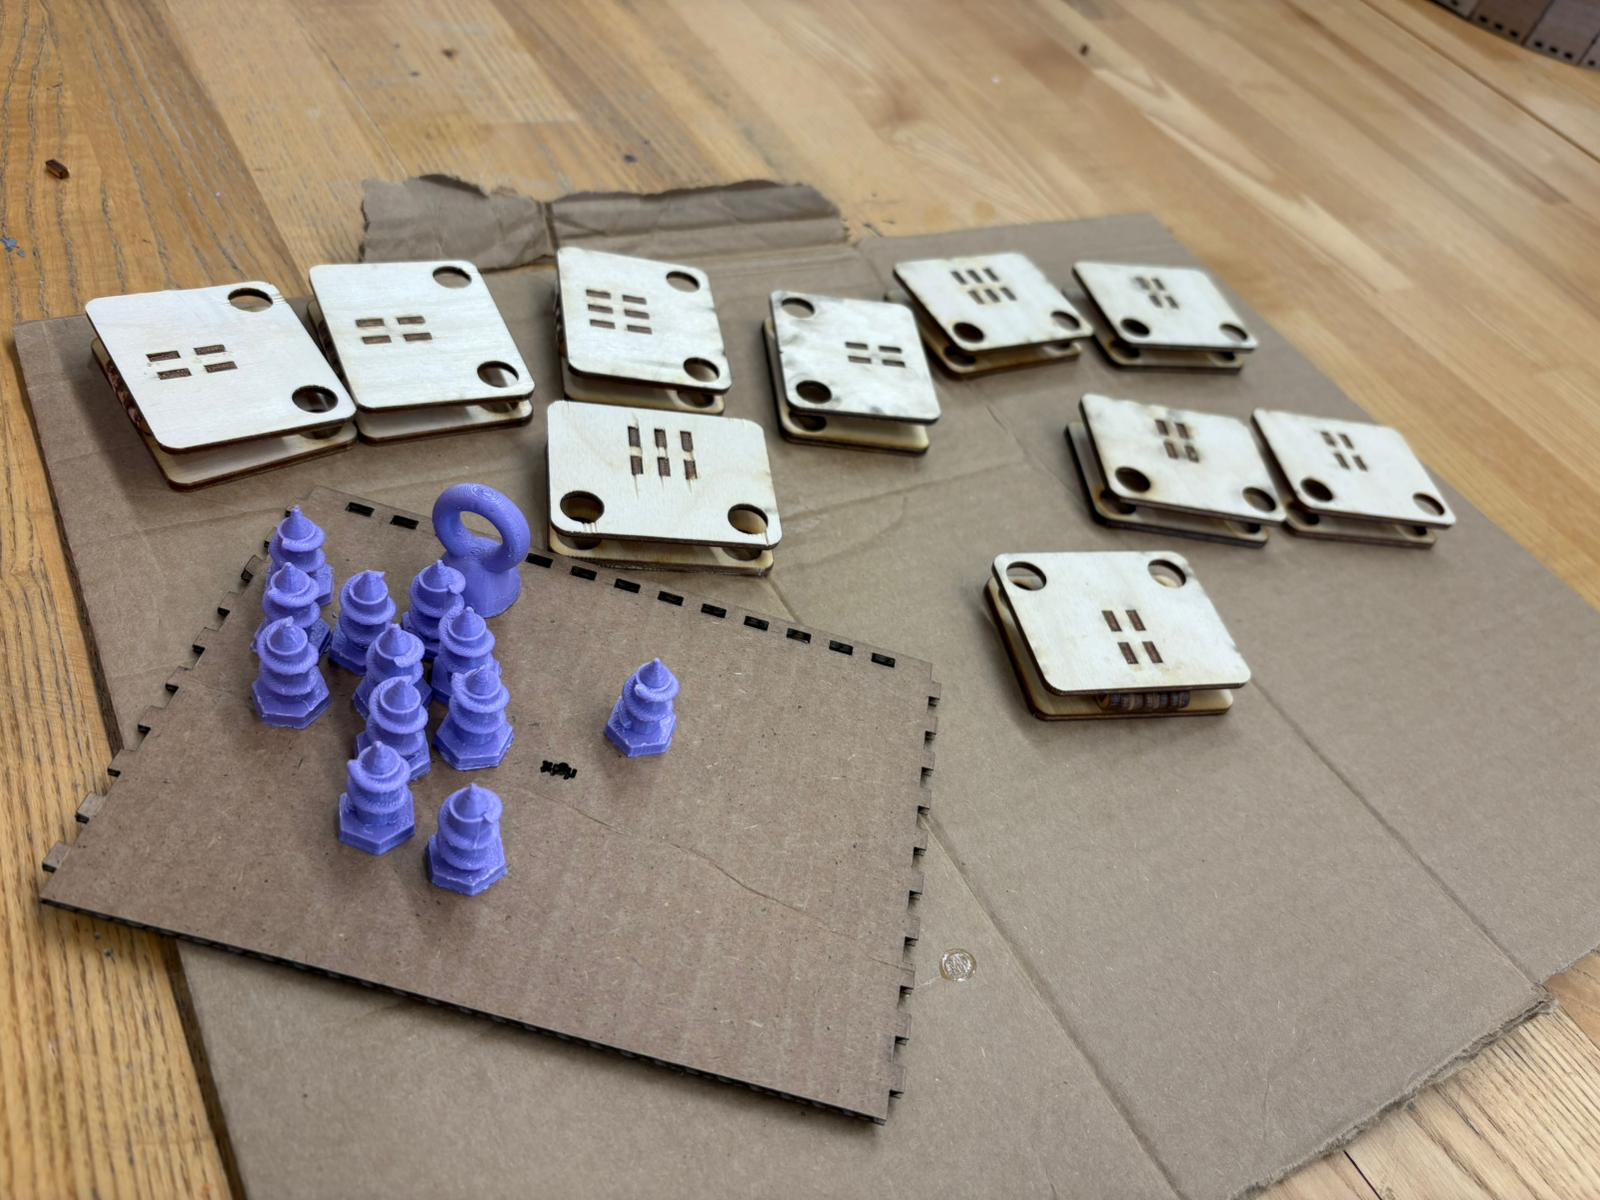
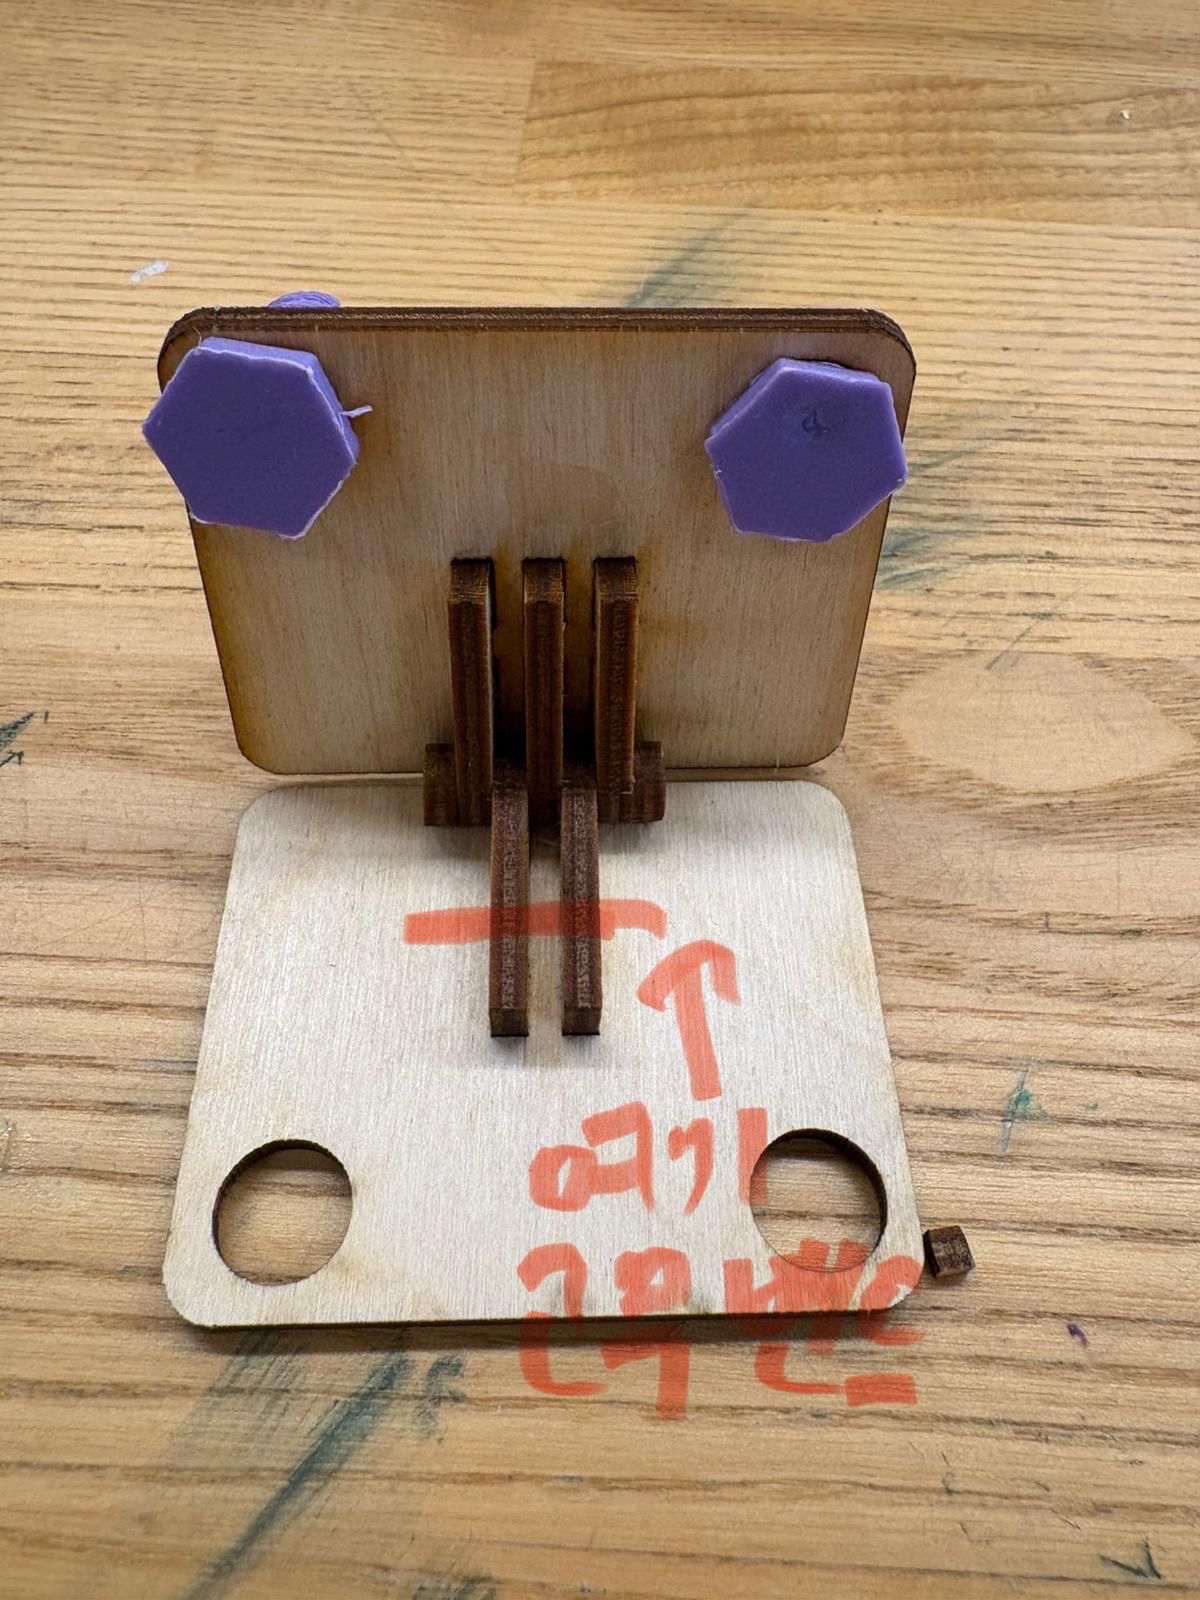
Next, I redesigned the handle. The kerf banded approach looked nice but could not withstand pushing force. I made three connectors so his fingers wouldn’t get hurt. Although some assembly is required, I think he’ll enjoy putting it together. (David added choose which Pokémon to engrave here. Thank you!)

I also created matching bolts and nuts, redesigned from David’s earlier versions to unify the style. These will let him assemble and disassemble the blade and handle, making it possible to swap out blades as needed.
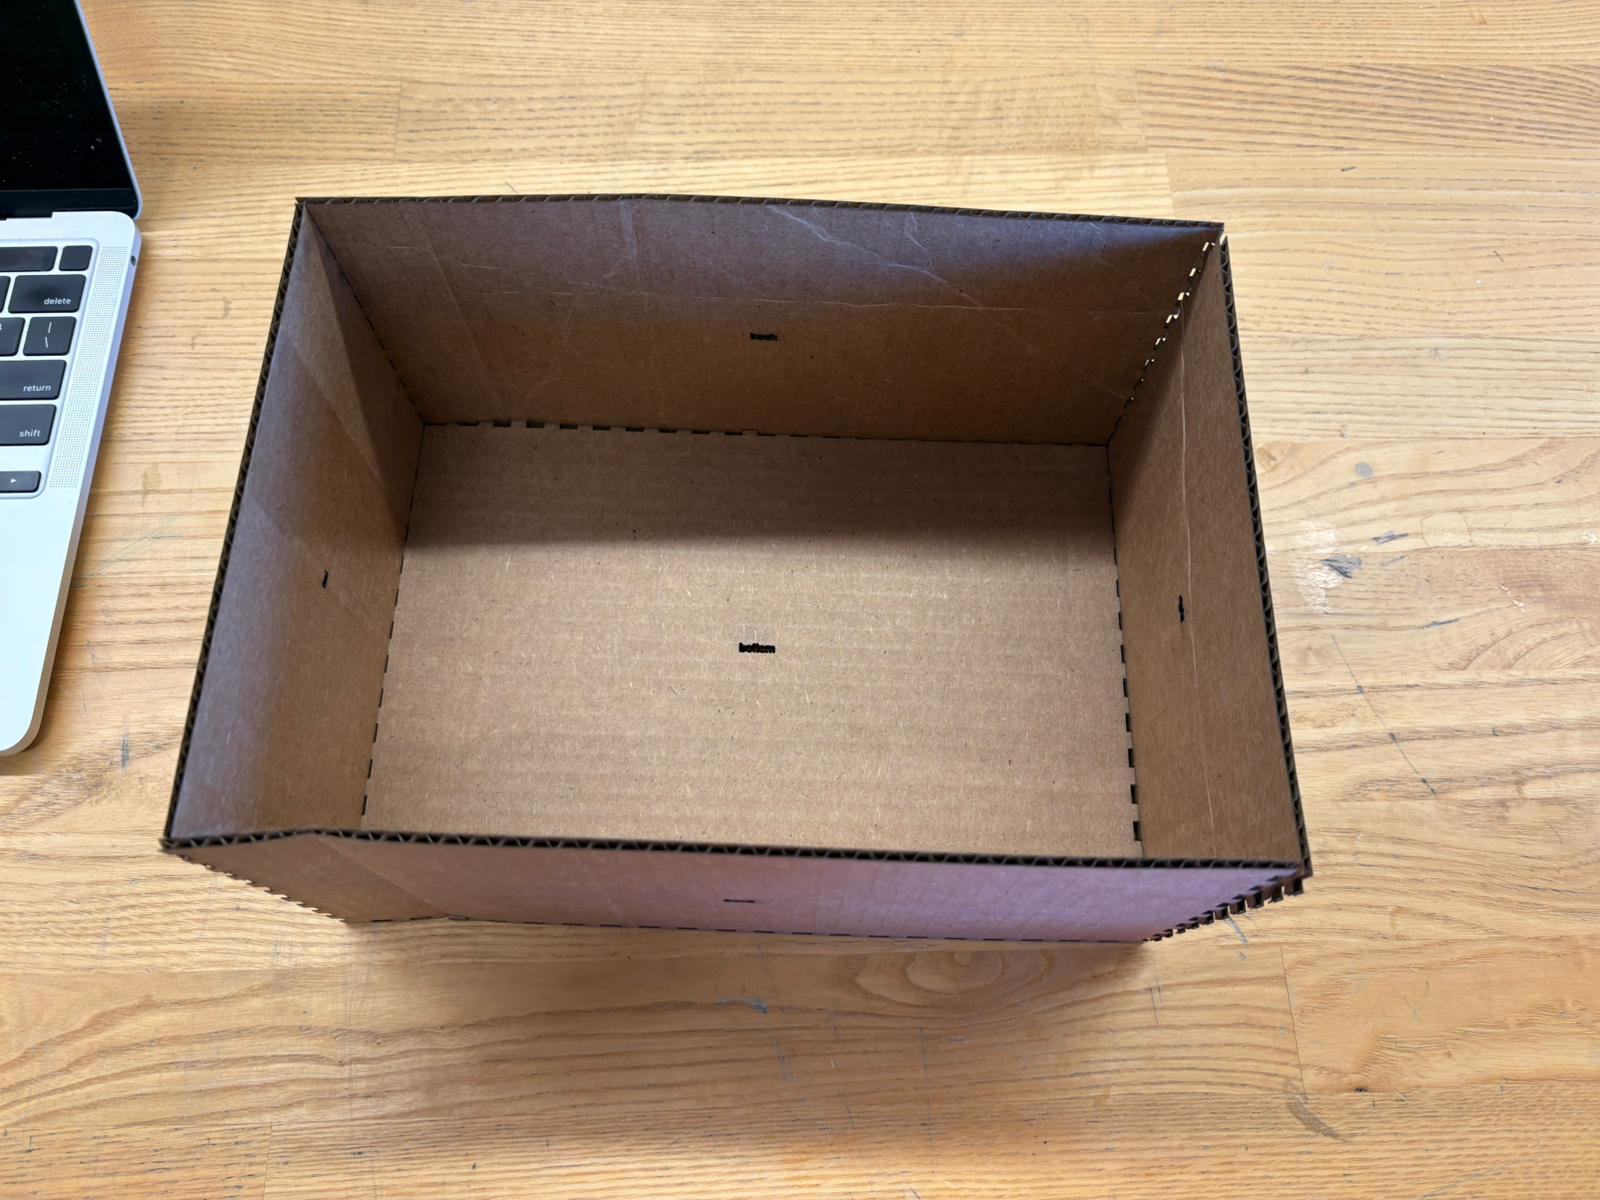
Meanwhile, David worked on the box, hinges, and screws.
This process was a lot of fun to tinker with together—we came up with many new ideas.
I'm really looking forward to the next stage!
'STUDY > Ed.M.' 카테고리의 다른 글
| [T519] Learning Toolkit Analysis - Chibi Lights (0) | 2025.10.25 |
|---|---|
| [T519] Dream Toy Project(4): Final (0) | 2025.10.24 |
| [T519] Dream Toy Project(2): Prototyping (0) | 2025.10.06 |
| [T519] Dream Toy Project: Interview (0) | 2025.09.29 |
| 보스턴에서의 58일: 학습 후기 (0) | 2025.09.26 |


댓글